How Pottery Is Made
Follow the pottery-making process from choosing clay to forming, drying, bisque firing, glazing, final firing, and safe everyday use.
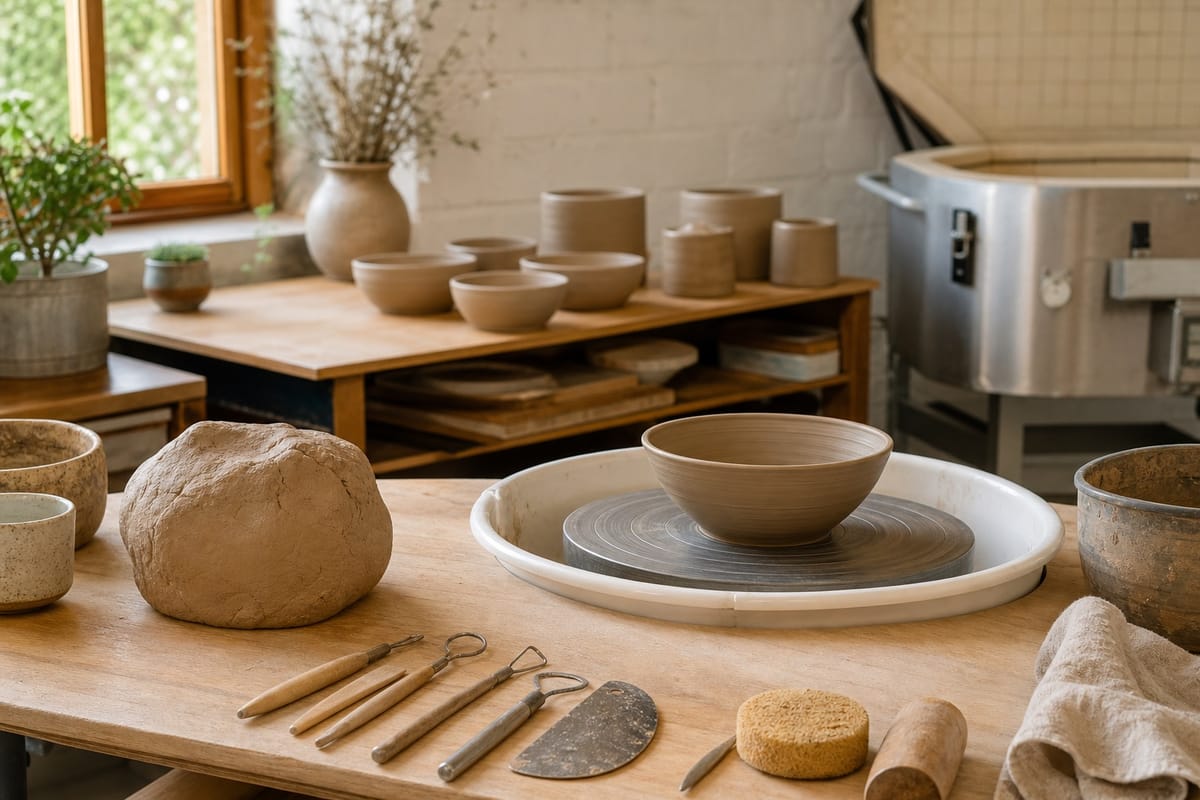
Pottery begins with soft clay, but a finished ceramic piece is the result of many controlled steps. A maker chooses a clay body, prepares it, forms it, dries it without rushing, fires it, glazes or decorates it, then fires it again. Each stage affects whether the piece works as intended.
This guide follows the process in practical studio terms, from a lump of clay to a finished mug, bowl, vase, tile, or sculpture. If you are new to the subject, Your Guide to Pottery for Beginners is a helpful broader introduction to basic habits and expectations.
1. Choose the right clay body
A clay body is a prepared mixture, not just random clay dug from the ground. It is designed for a firing range, forming method, color, texture, shrinkage rate, and final use. Common choices include earthenware, stoneware, and porcelain. Earthenware usually fires lower and often suits decorative work. Stoneware is common for mugs, bowls, and plates because it can become dense and durable. Porcelain is smooth and refined, but less forgiving.
Start with the object you want to make. A garden sculpture, dinner plate, thick tile, and thin cup do not need the same clay. Before buying a bag, check the firing temperature, fired color, texture, shrinkage, and whether it fits the kiln and glaze options available to you. Functional ware that will hold food or drink needs a suitable clay and glaze combination fired to the correct temperature. A nice-looking surface does not make a piece safe for the table by itself.
2. Prepare and wedge the clay
Fresh clay still needs attention before you form it. Wedging is the process of kneading the clay so the moisture is even, the particles are aligned, and obvious air pockets are worked out. It has a rhythm a little like kneading dough, but the goal is a consistent lump that will respond predictably on the wheel or in your hands.
This is also where good studio habits begin. Dry clay dust can be harmful when it becomes airborne, especially if it contains silica. Wipe benches and tools with a damp sponge instead of sweeping dust into the room. Keep scraps for reclaim rather than letting clay collect in the sink. Clay settles in plumbing, so studios usually rely on settling buckets, reclaim bins, and local disposal rules for sludge.
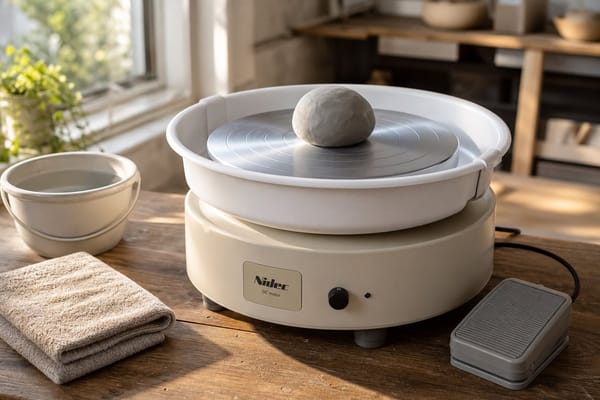
3. Form the piece by hand or on the wheel
Once the clay is ready, the potter forms the basic shape. Hand-building includes pinch pots, coils, slabs, press molds, and joined forms. It is direct, flexible, and beginner friendly. Wheel throwing uses a spinning wheel to center the clay, open it, pull the walls, and shape a round form. It is often used for bowls, cups, mugs, jars, and vases.
Hand-building gives you room for asymmetry, texture, and larger constructed shapes. The wheel is efficient for round forms once centering and pulling become familiar. If you are choosing where to start, Pottery Wheel vs. Hand-Building explains the tradeoffs.
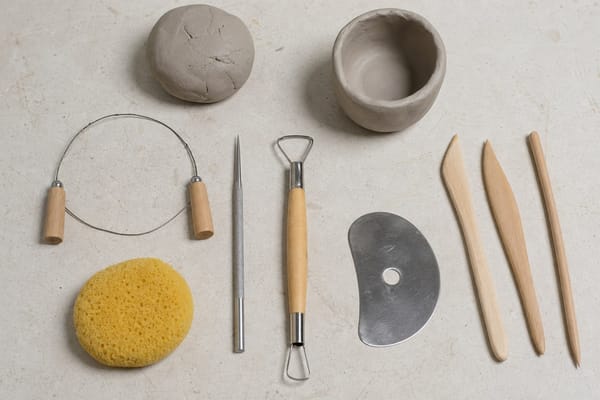
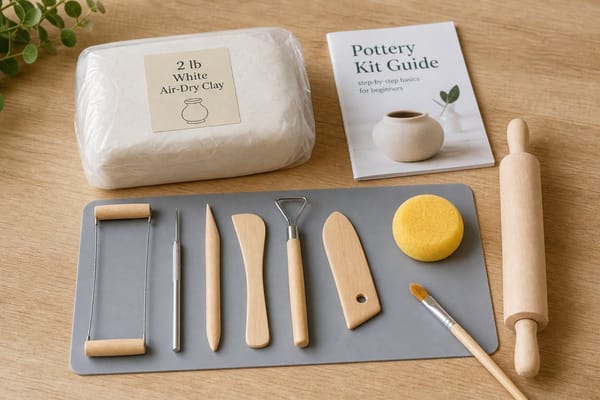
You do not need a drawer full of tools for early projects. Add tools as your projects ask for them. For a grounded starter list, see Best Pottery Tools for Beginners.
4. Join, refine, and trim
After the main form is made, the piece usually needs cleanup. Handles may be attached, rims compressed, seams blended, feet shaped, and heavy areas thinned. When two clay parts are joined, potters often score both surfaces, add slip, press them together firmly, and smooth the seam. The point is to help the parts dry and shrink as one piece instead of pulling apart.
Wheel-thrown pots are often trimmed at the leather-hard stage. Leather-hard clay is firm enough to handle without collapsing but still damp enough to cut cleanly. Trimming removes extra weight, defines a foot ring, sharpens the profile, and can make a pot feel more finished. Hand-built work can be refined at the same stage by smoothing edges, carving details, cleaning joins, or adding surface marks.
If you want approachable ways to shape and decorate clay, 7 Easy Pottery Techniques for Beginners has beginner-friendly ideas without requiring a complicated setup.
5. Dry slowly and evenly
Drying looks uneventful, but it is one of the easiest places to lose a piece. Clay shrinks as water leaves it. If a rim dries faster than the base, or a handle dries faster than the wall it is attached to, stress builds. Warping and cracks often come from uneven drying, not from one dramatic mistake.
Most pieces move from wet clay to leather-hard clay, then to bone dry clay. Bone dry clay no longer feels cool or damp and is ready for the first firing, but it is fragile. At this point the piece has no fired strength, so a careless bump can still break it.
Slow drying is usually safer than fast drying. Cover fresh work loosely with plastic, especially when it has thick and thin sections. Give handles, joins, rims, and bases time to equalize. Avoid direct sun, heaters, and strong drafts unless you have a specific reason and understand how that clay body behaves.
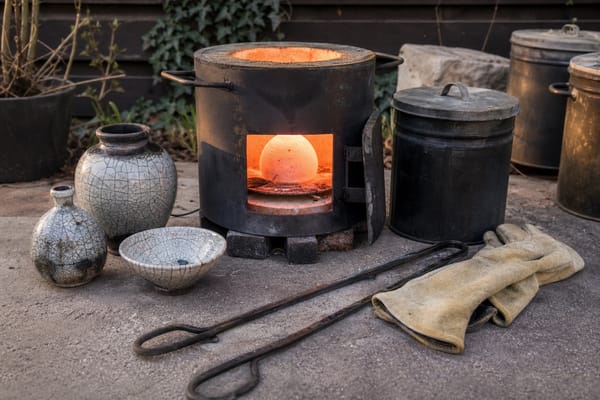
6. Bisque fire the clay
The first kiln firing is usually the bisque firing. During bisque, the clay changes into a hard, porous ceramic material. It can no longer be softened back into workable clay with water, but it can still absorb glaze. That porosity helps glaze cling to the surface before the final firing.
Pottery firing is not something a home oven can do. Ceramic work needs a kiln that reaches the correct temperature and follows a suitable firing schedule. Kilns also bring ventilation, electrical or fuel, heat, and material-safety concerns. Many beginners use a school, community studio, or shared kiln service instead of buying a kiln early. For more context, read What Are the Best Pottery Firing Techniques.
7. Glaze or decorate the surface
After bisque firing, pottery can be glazed, stained, painted with underglaze, decorated with slip, or left partly unglazed if that fits the piece. Glaze is a glass-forming coating that melts in the kiln and bonds to the ceramic surface. It can add color, texture, shine, and water resistance. On functional pieces, the right glaze can also make the surface easier to clean.
Glazing is simple in concept but easy to overdo. Wax resist may be added to the foot so the pot does not stick to the kiln shelf. Glaze should be mixed, applied, and cleaned up according to the studio's directions. Too much glaze near the bottom can run and damage shelves. Food surfaces need glazes that are suitable for functional use with the clay body and firing temperature. Decorative paints that air-dry or cure outside a kiln are not the same as kiln-fired food-safe glazes.
If surface design is your main interest, Pottery Painting Ideas explains options and limits.
8. Glaze fire and inspect the finished piece
The glaze firing is the second common kiln firing. In this firing, the glaze melts, matures, and bonds to the bisque surface. Depending on the clay body and firing range, the clay may also become denser. The temperature has to match the materials. A low-fire glaze used in the wrong firing range, or a high-fire clay fired too low for functional use, can leave weak or unsuitable results.
After the kiln cools fully, the piece can be unloaded and checked. Look for cracks, sharp edges, wobbly feet, pinholes, crawling, glaze runs, or rough areas where the piece touched the shelf. Rough foot rings can usually be smoothed with an appropriate abrasive. Pieces meant for food or drink deserve extra caution. If you are unsure about glaze fit, maturity, or food safety, use the piece decoratively instead.
The basic pottery process in order
- Choose a clay body that fits the object, firing range, and intended use.
- Wedge and prepare the clay so moisture and texture are even.
- Form the piece by hand-building, wheel throwing, or a mix of methods.
- Attach parts, trim excess clay, refine edges, and add texture if wanted.
- Dry slowly from wet clay to leather-hard, then to bone dry.
- Bisque fire in a proper kiln.
- Apply glaze, underglaze, slip, stain, or another ceramic surface treatment.
- Glaze fire or final fire to the correct temperature for the materials.
- Inspect the finished piece before using, selling, gifting, or displaying it.
Final thoughts
Pottery is made through a chain of choices. Clay type, forming method, drying speed, firing temperature, glaze choice, and final inspection all shape the result. A good piece is not only attractive. It is dried, fired, and finished in a way that suits its purpose.
For beginners, the practical path is to start with simple forms, use known clay and glaze combinations, and fire through a reputable studio or kiln service. Once those basics make sense, there is room to experiment while still respecting the limits of clay, kilns, and functional safety.