How to Make Pottery Tools at Home: Simple DIY Tools That Actually Work
Make simple pottery tools at home from household materials: plastic ribs, clay stamps, sponge tools, and dowel rollers, with beginner safety notes.
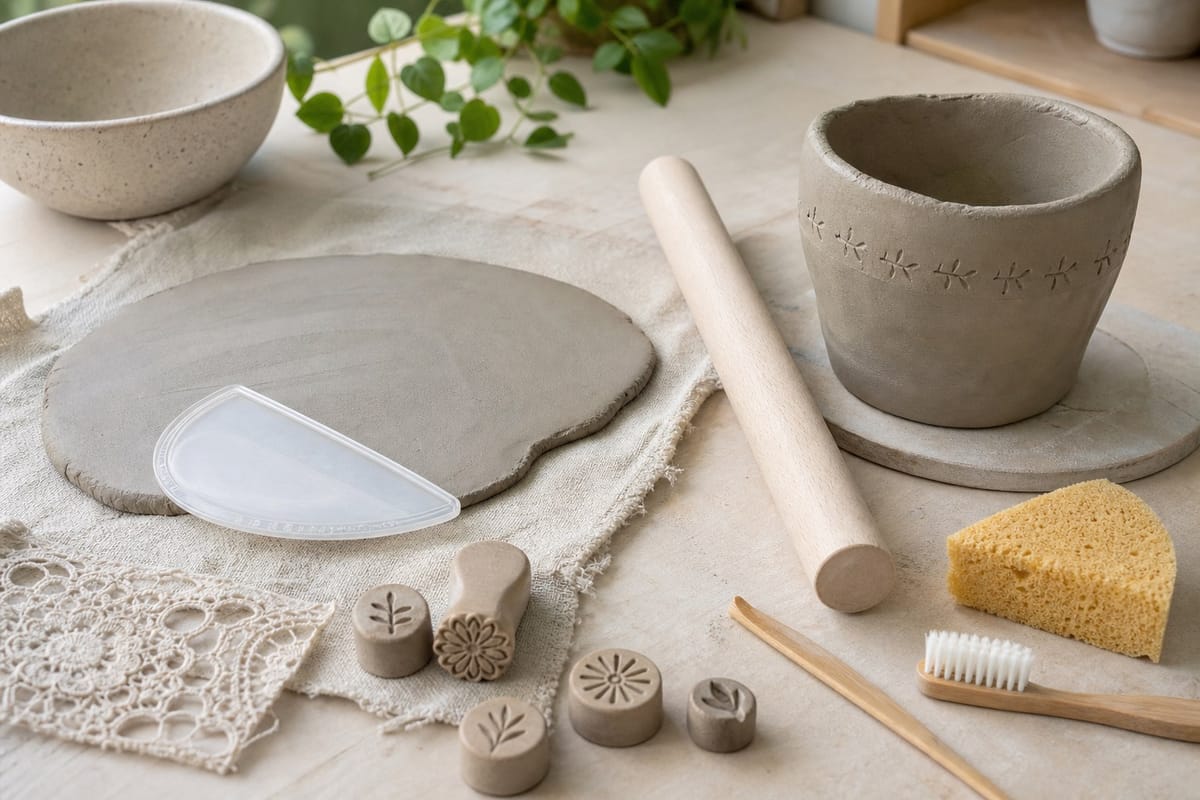
You do not need a full studio drawer to start making useful marks, smooth edges, or shape small clay projects. A few well-chosen tools help, but many beginner pottery tools can be made at home from clean household materials you may already have.
The key is knowing which homemade pottery tools are genuinely useful and which ones are better bought. A flexible plastic rib from a container lid can work beautifully. A lace texture stamp can add detail in seconds. A homemade kiln, on the other hand, is not a casual beginner project.
Homemade ribs, texture stamps, and cleanup tools can help, but sharp or precise tools are usually worth buying. Use the best pottery tools for beginners guide to compare a small starter kit before adding extras.
This guide focuses on practical, low-risk ways to make pottery tools at home for hand-building, decorating, smoothing, and simple cleanup. If you are still building your first kit, you may also want to compare these ideas with our guide to the best pottery tools for beginners.
Before you start: a quick safety note
DIY pottery tools should make your clay practice easier, not riskier. Before cutting, sanding, drilling, or shaping plastic, wood, or metal, wear eye protection and work slowly. Small chips, splinters, and sharp edges can cause real injuries.
Avoid rusty metal, flaking paint, treated wood, unknown coatings, and dirty found objects that will touch wet clay. Clay absorbs residue easily, and you do not want mystery chemicals or rust mixed into a piece you plan to fire or handle often.
Sharp cutting tools are usually worth buying. A commercial trimming tool, needle tool, fettling knife, or wire cutter is often safer, cleaner, and more precise than a homemade substitute.
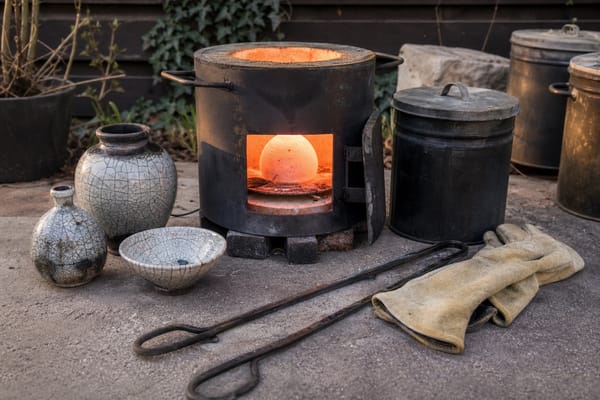
Also, do not attempt a homemade kiln unless you have serious kiln-building knowledge and understand local fire, ventilation, and electrical rules. Kilns involve high heat, wiring, fumes, and fire risk. For most beginners, firing through a community studio, school, pottery shop, or shared kiln is the safer route.
What is worth making at home?
The best DIY pottery tools are simple, smooth, easy to clean, and not dangerously sharp. They should solve a small studio problem without needing complicated construction.
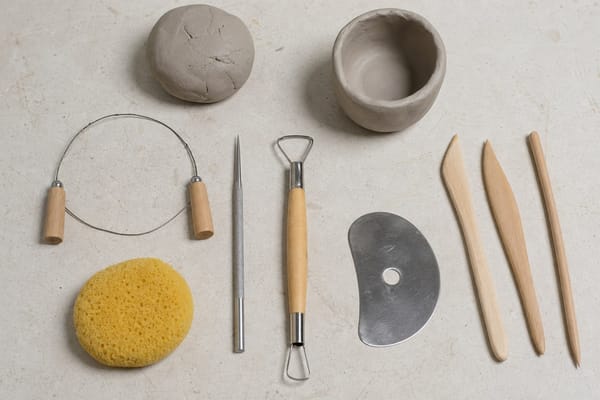
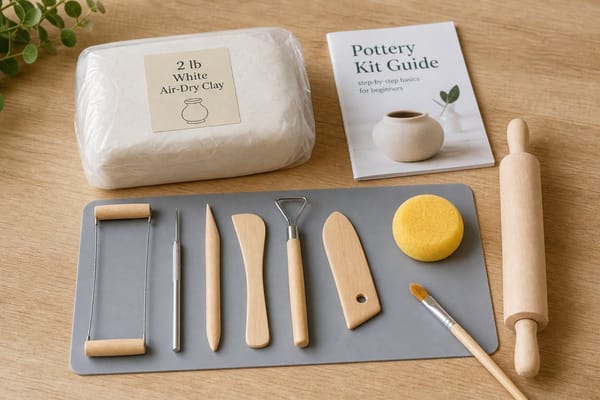
Tools worth making include flexible plastic ribs, texture stamps, simple clay stamps, sponge tools, dowel rollers, wooden modeling sticks, soft cleanup scrapers, and toothbrush texture brushes.
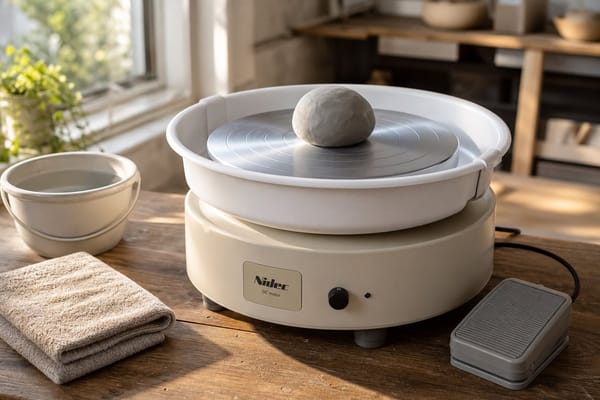
Tools usually worth buying include needle tools, loop trimming tools, fettling knives, commercial wire clay cutters, calipers, kilns, kiln furniture, and pottery wheels. Those tools need sharper edges, stronger materials, heat safety, or mechanical precision.
If you are brand new to clay, start with hand-building and surface decoration first. Our pottery for beginners guide explains the basic tools, clay types, and first steps in a broader way.
Make a flexible plastic pottery rib
A plastic rib is one of the easiest DIY pottery tools to make, and it is useful from day one. You can use it to smooth slabs, compress coil-built walls, refine curves, scrape slip, and clean soft clay from your work surface.
Good materials include an old gift card, hotel key card, flexible cutting mat, yogurt container lid, or plastic food storage lid. Choose plastic that bends slightly without cracking.
How to make it:
- Wash the plastic well and dry it completely.
- Draw a kidney shape, oval, rounded rectangle, or long curved shape.
- Cut it with strong scissors or a craft knife on a safe cutting surface.
- Round every corner so it will not gouge the clay.
- Lightly sand the edges until they feel smooth to your fingers.
Make several shapes if you can. A rounded rib is good for bowls and curved forms. A straight-edged rib is useful for slab work. A smaller rib is helpful for mugs, pinch pots, and tight spaces.
Make pottery texture tools from household objects
Pottery texture tools are where homemade tools really shine. Many everyday objects leave better marks than store-bought stamps because they look less predictable.
Try pressing these into soft clay:
- Buttons with raised designs
- Lace, burlap, or textured fabric
- Clean rope or twine
- Leaves with strong veins
- Fork tines or combs
- Basket weave, mesh, or netting
- Clean shells or seed pods
- Corrugated cardboard for temporary experiments
Roll a slab of clay, press your object into the surface, then lift it straight up to avoid smearing. For repeating patterns, mark a test tile first. This helps you see whether the texture is too deep, too shallow, or likely to trap glaze later.
If you enjoy surface design, pair these homemade texture tools with beginner-friendly methods from easy pottery techniques for beginners.
Make simple clay stamps
Clay stamps are excellent for adding repeat patterns to mugs, tiles, ornaments, planters, and small dishes. You can make them from scrap clay and bisque fire them later, or use air-dry clay for non-fired practice pieces.
To make a basic clay stamp, roll a small piece of clay into a short cylinder. Flatten one end, then carve or press a design into it. Simple shapes work best: dots, lines, leaf marks, triangles, waves, initials, or small geometric patterns.
Let the stamp dry slowly so it does not crack. If you are using ceramic clay and want a durable stamp, have it bisque fired before regular use. A bisque stamp absorbs a little moisture from the clay surface, which can help it release cleanly.
Keep stamp designs shallow at first. Deep stamps can distort thin slabs or make weak spots in delicate pieces.
Make a soft scraper from a plastic card
An old plastic card can become a cleanup scraper, soft shaping tool, or gentle beveling tool. This is different from a true trimming tool. It will not replace a sharp metal loop tool for leather-hard clay, but it is very useful for soft clay and slip cleanup.
Cut one long edge into a slight curve for smoothing. Cut another edge flat for scraping your work board. You can also cut a shallow notch into one corner to help refine coils or rounded handles.
Sand the edges well. If a plastic edge feels sharp enough to cut your finger, it is too sharp for casual clay work. Smooth edges give you more control and leave fewer accidental scratches.
Make foam sponge tools
Sponges smooth seams, soften rims, clean slip, and help control moisture. Cut a clean kitchen sponge, foam packaging piece, or cosmetic wedge into small shapes for different jobs: wedges for handle joins, rounded pieces for pinch pots, thin strips for corners, and flat rectangles for slab cleanup.
Use a sponge reserved only for clay. Do not reuse anything that has held soap, grease, or cleaning chemicals, and rinse it often so grit does not drag across the surface.
Make a dowel roller for slabs and coils
A wooden dowel makes a simple roller for small slabs, coils, and texture work. Choose an untreated wooden dowel from a craft or hardware store. Avoid painted, stained, pressure-treated, or mystery wood, especially if it will touch wet clay.
For a mini slab roller, use two matching guide sticks on either side of your clay and roll the dowel across the top. The guide sticks help keep the slab thickness more even. This will not replace a full slab roller, but it works well for tiles, test pieces, ornaments, and small hand-built forms.
You can also wrap clean rope around a dowel to make a repeating texture roller. Secure the ends neatly so they do not drag through the clay. Test it on scrap clay before using it on a finished piece.
Make a wooden modeling stick
A chopstick, bamboo skewer, or small untreated dowel can become a modeling stick for shaping soft clay. This is useful for joining coils, compressing corners, refining small curves, and pushing clay into place.
To make one, sand one end into a rounded point and the other into a soft paddle shape. Keep both ends smooth. A sharp point can tear clay and is more likely to injure your hand if it slips.
A wooden modeling stick works especially well for hand-building. If you are comparing hand-building with wheel work, read pottery wheel vs hand-building for beginners to decide which setup fits your space and budget.
Use a toothbrush for slip texture
A clean toothbrush can create lively texture in slip, score attachment areas, or soften rough edges on practice pieces. Use a new toothbrush or one reserved only for clay. Do not use anything that has toothpaste residue or household cleaner on it.
For surface texture, brush thick slip across leather-hard clay in one direction, then cross it lightly for a woven look. For joining, a toothbrush can roughen the clay before you add slip, although a commercial scoring tool may be better for larger or heavier attachments.
As with all texture, test first. Heavy brushing can weaken thin handles, rims, or delicate slab edges.
Can you make a wire clay cutter?
You can make a basic cutter from clean, strong, rust-free wire and two smooth handles, but it needs to be secure. If the wire slips, kinks, frays, or has any coating that may flake into clay, stop using it. For most beginners, a commercial wire clay cutter is the better choice because it is inexpensive, reliable, and made for the job.
Be careful with needle tool substitutes
A bamboo skewer or sharpened wooden stick can mark simple lines, but loose sewing needles, pins, and nails are easy to lose in clay scraps and can puncture your hand. If you need to pierce, cut, measure depth, or refine edges precisely, buy a real needle tool with a secure handle.
Keep your DIY tools clean and organized
Homemade tools are only helpful if you can keep them clean. Rinse plastic ribs, sponge tools, stamps, and rollers before clay dries on them. Let wood tools dry fully before storing so they do not stay damp.
Keep a small container for your DIY pottery tools and another for items that need repair or sanding. If a tool develops a crack, splinter, rusty spot, or peeling surface, retire it. Clay is forgiving, but contaminated or damaged tools can cause avoidable problems.
It also helps to make a few test tiles. Use them to try each texture stamp, rib, scraper, or brush before using the tool on a piece you care about. Test tiles are part of learning how pottery is made, from forming and decorating to drying and firing.
Final thoughts on homemade pottery tools
The best way to make pottery tools at home is to start simple. A plastic rib, a few texture stamps, a sponge wedge, a dowel roller, and a wooden modeling stick can take you a long way. Use homemade tools for creativity, texture, smoothing, and studio problem-solving, then buy the tools that need sharp edges, strong metal, heat resistance, or precise construction.